Cannabis seeds can be sensitive during germination, and small mistakes with moisture, temperature, or planting depth often lead to failed sprouts or weak seedlings. Autoflower seeds typically germinate best in warm, humid, low-light conditions with consistent airflow and gentle moisture, usually sprouting within 2–7 days when conditions remain stable. Different methods like paper towels, soaking, peat pellets, or direct soil planting can all work well depending on the grower’s setup and experience level. Understanding the ideal environment and avoiding common early-stage issues can help improve germination rates and establish healthier seedlings from the start.
Key Takeaways
- Autoflower seeds typically germinate within 2–7 days when kept between 70°F and 80°F (21°C to 27°C).
- Seeds need consistent moisture and airflow during germination, but overly wet soil or paper towels can slow growth or cause problems.
- Darkness is commonly recommended during germination, while light becomes important once seedlings emerge above the soil.
- Planting seeds around 1 cm deep helps seedlings reach the surface without using excessive stored energy.
- Paper towel, direct soil, peat pellet, and water-soaking methods can all work effectively when temperature and moisture remain stable.
- Older cannabis seeds may benefit from light scarification to help the shell absorb water more easily and improve germination rates.
- Key Takeaways
- What conditions do autoflower seeds need to germinate?
- Different ways of germinating autoflowering seeds
- Tips to improve autoflower germination
- How long does it take autoflower seeds to germinate?
- Do autoflowers need light to sprout?
- What soil should you germinate autoflowers in?
- What is the ideal temperature for autoflower germination?
- How long is the seedling stage for autoflowers?
What conditions do autoflower seeds need to germinate?
First things first, to successfully germinate autoflower seeds, you need to create an environment that supports their growth. Cannabis seeds require very specific conditions in order to start life, so let’s break down the essentials:
Warmth: Autoflower seedlings thrive in temperatures between 70°F to 80°F (21°C to 27°C). This temperature range encourages rapid germination. Be wary of extremes, as temperatures too low or high can hinder the process, and a happy medium of 75°F (24°C) is optimal
Moisture: Water is a catalyst in the germination process. It’s critical to maintain a moist environment without drenching the seeds. You do not want conditions too wet or overly dry.
Air: Seeds need oxygen for germination. Ensure there's good airflow, but avoid direct drafts which can dry out the seeds. Roots search out for oxygen and moisture so the more air rich you set up the better
Darkness: While some light can be beneficial, generally, autoflower seeds germinate best in darkness. Keep germinating seeds away from direct sunlight.
Actionable Tip: Maintain steady warmth, moisture, airflow, and darkness to support reliable germination.
Different ways of germinating autoflowering seeds
There are several methods to germinate autoflower seeds. We’ll take you through four popular techniques: using paper towels, rockwool or peat pellets, soaking in water, and planting directly in soil. By the end of this section, you will make up your mind which method is most practical for you!
Germinating autoflower seeds in paper towel
This classic method is popular for a reason - it's effective and simple. Here’s how:
- Gather Materials: You’ll need autoflower seeds, thick paper towels, two plates, and a warm, dark place.
- Moisten the Paper Towels: Dampen two paper towels. Lay one on a plate, ensuring it’s moist, not soggy.
- Place Seeds: Scatter your seeds on the damp paper towel, placing them 2cm apart from each other
- Cover and Store: Lightly place the second moist paper towel over the seeds, and cover with the other plate. Store in a warm, dark place.
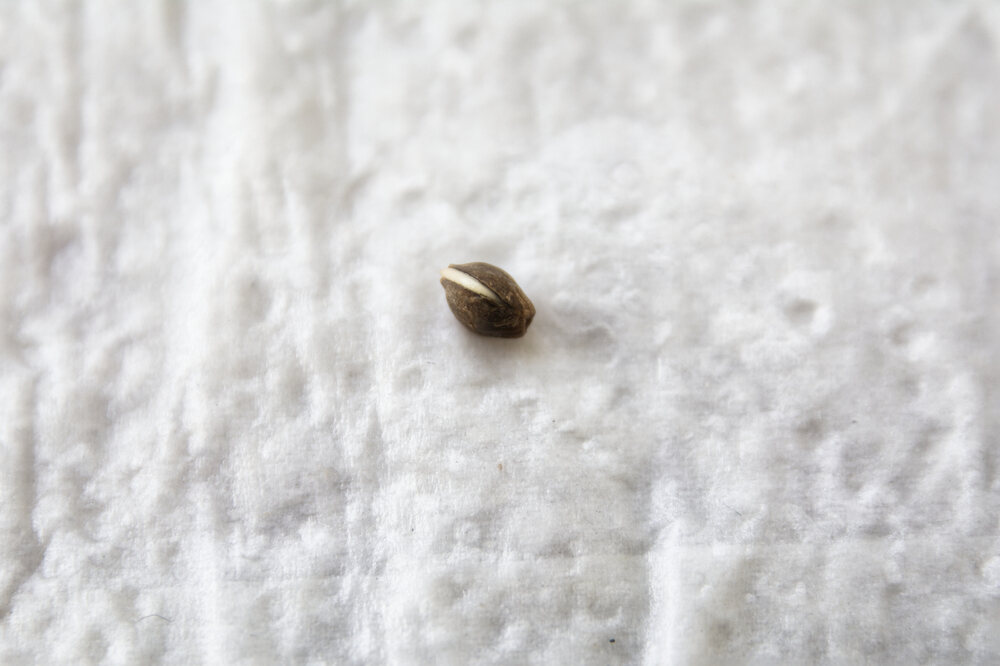
- Monitor and Plant: Check daily for sprouting, which should occur in 2-7 days. Once the root is about a quarter-inch long, it's time to plant them in soil.
Actionable Tip: Keep the paper towels damp rather than wet and transplant seeds as soon as the taproot appears.
Germinating autoflower seeds in rockwool or peat pellets
For those looking to provide a stable medium from the get-go, using rockwool, coco coir or peat pellets is an excellent option.
- Preparation: Soak your rockwool, coco coir or peat pellets in water until they expand.
- Place Seeds: Make a small hole in the pellet, 1cm deep. Place a seed inside, then gently cover it.
- Provide Ideal Conditions: Place the pellets in a tray with a dome cover to retain humidity. Keep in a warm area.
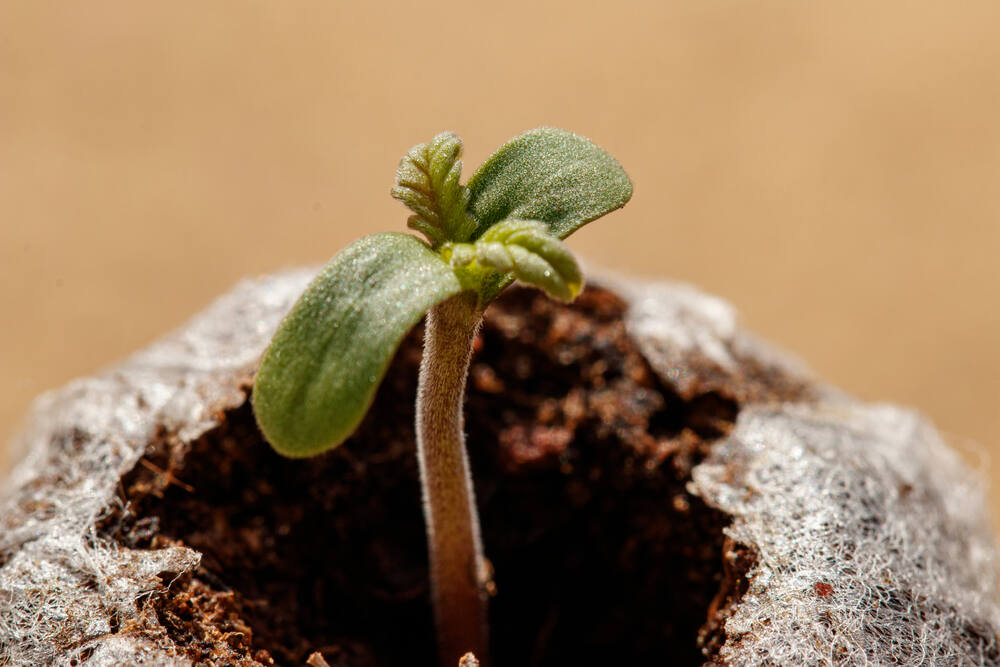
- Transplant: Once the seedlings have emerged and developed a set of true leaves, they’re ready to be planted into pots or garden beds.
Soaking autoflower seeds in water

This method is a simple and efficient way to jump-start the germination process.
- Fill a Glass: Fill a glass with lukewarm water (not too hot or cold).
- Add Seeds: Gently add your autoflower seeds to the water.
- At first the seeds will float, and after 24 hours should sink when swirling the water
- Wait: Leave the seeds soaking for 24 to 96 hours You should see the seeds crack open and a small root emerging.
- Plant: Carefully remove the seeds using tweezers and plant them in your chosen medium.
How do you germinate autoflower seeds directly in soil?
This method mimics nature and can be the most straightforward approach. Many growers prefer this method as it saves any preparation and pre-germination techniques.
- Prepare Pots: Fill pots with a good quality potting mix. Make sure the pots have drainage holes and the soil feels airy and spongy.Plant Seeds: Plant the autoflower seeds 1cm deep into the soil.
- Water Carefully: Gently spray the top of the soil with a spray bottle. Avoid flooding the soil as oxygen is crucial at this stage.
- Provide Warmth and Darkness: Place pots in a warm area and keep them in darkness until the seedlings emerge.
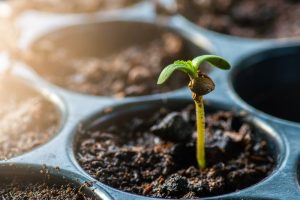
- Introduce Light Gradually: Once the seedlings break through the soil, gradually expose them to light.
Tips to improve autoflower germination
Have you ever tried germinating seeds and were left disappointed wondering what you did wrong? Armed with knowledge below on how to germinate autoflower seeds or photoperiod seeds, let’s polish your green thumb skills even further. Follow these tips to make your germination process even more fool proof.
Actionable Tip: Improve germination rates by planting seeds the right way up, at the correct depth, and keeping the medium evenly moist.
Scarify older autoflower seeds
Some seeds have a tougher outer shell which can make it difficult for them to absorb water. This is where scarification comes in. Essentially, you’ll need to create tiny abrasions on the seed’s surface to weaken the outer shell and improve water uptake.
How to do it: Gently rub the seeds between two pieces of sandpaper. You only want to scratch the surface of the seeds so be careful not to rub too much.
Why do it: Scarification can significantly increase the germination rate, especially for older seeds. Old seeds need more encouragement than freshly produced cannabis seeds and scarification is a simple but effective way to help old seeds come back to life.
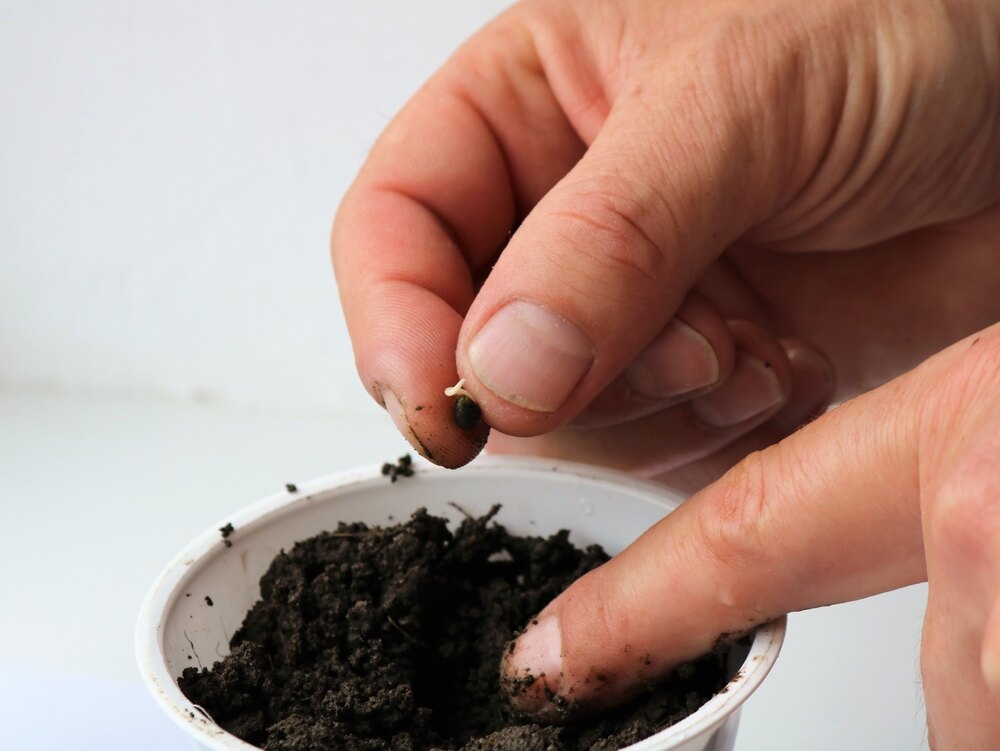
Plant the right way up
Orientation matters when you germinate autoflower seeds. Seeds have a natural top and bottom. The top is rounded, while the bottom, where the root emerges, is flatter and pointed.
How to do it: Plant the seed using a pair of tweezers with the pointy side facing down 1cm deep into the soil Why do it: Proper orientation can lead to a smoother germination process. It ensures that the taproot encounters fewer obstacles, reducing the risk of it growing in the wrong direction.
Plant at the right depth
Planting depth is critical. Too shallow and the roots may not establish well; too deep and the seedling may struggle to break through the surface.
How to do it: As a rule of thumb, plant the seeds 1cm deep
Why do it: Planting at the right depth ensures that the seedling doesn't expend all its stored energy trying to reach the surface. It also helps in protecting the young plant from drying out too quickly.
Don't let the soil dry out
Consistent moisture levels are key. The growing medium should be damp but not waterlogged. Water logged soil can become a breeding ground for soil pathogens.
How to do it: Use a spray bottle to gently moisten the soil every 6-9 hours. It’s also a good practice to cover the container with a plastic wrap or a dome to retain humidity.
Why do it: Seeds need moisture to germinate. Allowing the soil to dry out can cause the delicate roots to dry up, effectively killing the seedling.
How long does it take autoflower seeds to germinate?
Autoflower seeds typically take between 2 to 7 days to germinate. Various factors, such as the age of the seeds, environmental conditions, and the germination method used, can affect this timeline. It's important to provide optimal conditions and patiently wait for the seeds to sprout.
Do autoflowers need light to sprout?
Autoflowers do not need light to germinate. In fact, they should be germinated in a dark environment. Once the seedlings have broken through the soil, that’s when they need light.
What soil should you germinate autoflowers in?
For germinating autoflowers, it's best to use a light and airy soil mix with good drainage. Many growers opt for seed-starting mixes that are often peat-based, however peat does not contain many nutrients Living soils containing compost, bat guano and worm castings are great because they contain a naturally high level of nutrients, plenty of keeping an autoflower plant healthy for the first 3-4 weeks of its life.
What is the ideal temperature for autoflower germination?
The ideal temperature range for germinating autoflower seeds is between 70°F to 80°F (21°C to 27°C). Maintaining this temperature range ensures that the seeds have the warmth they need for optimal germination. It’s also crucial to avoid drastic temperature fluctuations.
How long is the seedling stage for autoflowers?
The seedling stage for autoflowers and photoperiods lasts for 2 weeks. During this period, the plants will develop their first sets of leaves and focus on root development. It’s critical to provide adequate light, maintain optimal temperatures, and ensure that they receive the right amount of water during this stage to set the foundation for a healthy plant.

